
Restaurant patio plant installation is the process of strategically selecting, positioning, and caring for plants in commercial outdoor spaces to boost visual appeal, define zones, and improve the overall guest experience. Done right, a planted patio signals quality before a customer even reads the menu. Done poorly, wilting or neglected greenery sends the opposite message. This guide walks you through every stage of the process, from site assessment and planter selection to step-by-step planting and ongoing maintenance, using commercial standards that hold up in real restaurant environments.
What does a restaurant patio plant installation guide cover?
A professional patio plantscape, the industry term for a designed plant installation in a commercial outdoor setting, covers far more than dropping a few pots near the entrance. It addresses structural planning, material durability, horticultural technique, and long-term care. Each of those layers matters equally.
The business case is straightforward. Plants define seating zones, create visual privacy, and soften hard surfaces like concrete and metal furniture. They also signal to guests that the space is cared for. Neglected plants harm the guest experience more than having no plants at all. That single fact should shape every decision you make about your patio greenery.
Patioscaping with above-ground planters requires no costly construction and offers the flexibility to reconfigure your layout for events or seasonal changes. That makes it the preferred approach for most restaurant operators who need both aesthetics and operational agility.
What do you need before starting a patio plant installation?
Preparation separates a patio that looks great in year one from one that still looks great in year five. Before you order a single plant or planter, assess three things: available sunlight, local climate, and the physical dimensions of your patio.
Choosing the right planter materials
Material choice drives both longevity and maintenance cost. Aluminum planters offer corrosion resistance, low weight, and a service life of 15–20 years, making them the top choice for commercial patios exposed to weather and cleaning chemicals. Fiberglass is a strong second option. It handles temperature swings well and accepts a wide range of finishes. Avoid untreated wood or thin-walled resin planters in high-traffic restaurant settings. They crack, fade, and require replacement far sooner than the investment justifies.
Commercial size standards for planters
Size is not just an aesthetic decision. Planters used as patio barriers require a minimum width of 18 inches and a maximum height of 36 inches for safety and sightline compliance. Soil depth of 18–24 inches supports most shrubs and ornamental grasses comfortably. Undersized planters stress root systems and dry out faster, which increases your maintenance burden.
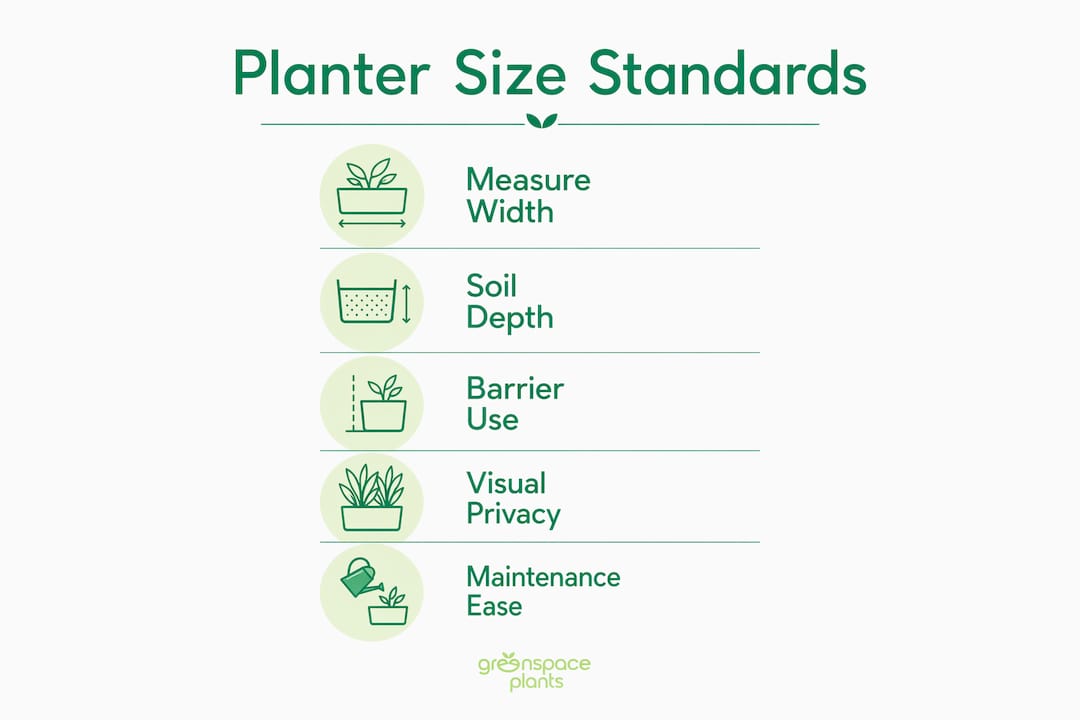
Here is a quick reference for planter sizing by function:
| Function | Minimum width | Recommended soil depth |
|---|---|---|
| Barrier or divider | 18 inches | 18–24 inches |
| Feature container | 24 inches | 18–24 inches |
| Tree or large shrub | 36 inches | 24+ inches |
Tools and supplies for installation
Gather these before installation day:
- Trowel and hand spade for smaller containers
- Soil knife for root ball separation
- Quality potting mix formulated for containers (not garden soil)
- Slow-release granular fertilizer
- Mulch (bark or wood chip, 2–3 inches deep)
- Drainage mesh to cover container holes
- Measuring tape and level
Pro Tip: Choose planters with concealed casters whenever your layout changes seasonally or for events. Two staff members can rearrange a full restaurant terrace in about 10 minutes with a properly equipped modular system.
How do you install patio plants step by step?
Follow these steps in order. Skipping any one of them creates problems that compound over time.
-
Prepare the container. Cover drainage holes with mesh to prevent soil loss without blocking water flow. Do not add a gravel layer at the bottom. Gravel at container bottoms creates a perched water table that increases root-zone saturation, not drainage. This is one of the most common and damaging mistakes in container planting.
-
Fill with quality potting mix. Add enough mix so the top of the root ball will sit level with the rim of the container, minus 1–2 inches for watering space. Use a mix designed for containers, not native soil, which compacts and drains poorly in confined spaces.
-
Dig the planting hole. For in-ground installations, dig the hole 2–3 times wider than the root ball diameter. Depth should match the nursery soil line exactly. Planting too deep causes crown rot. Planting too shallow exposes roots to temperature stress.
-
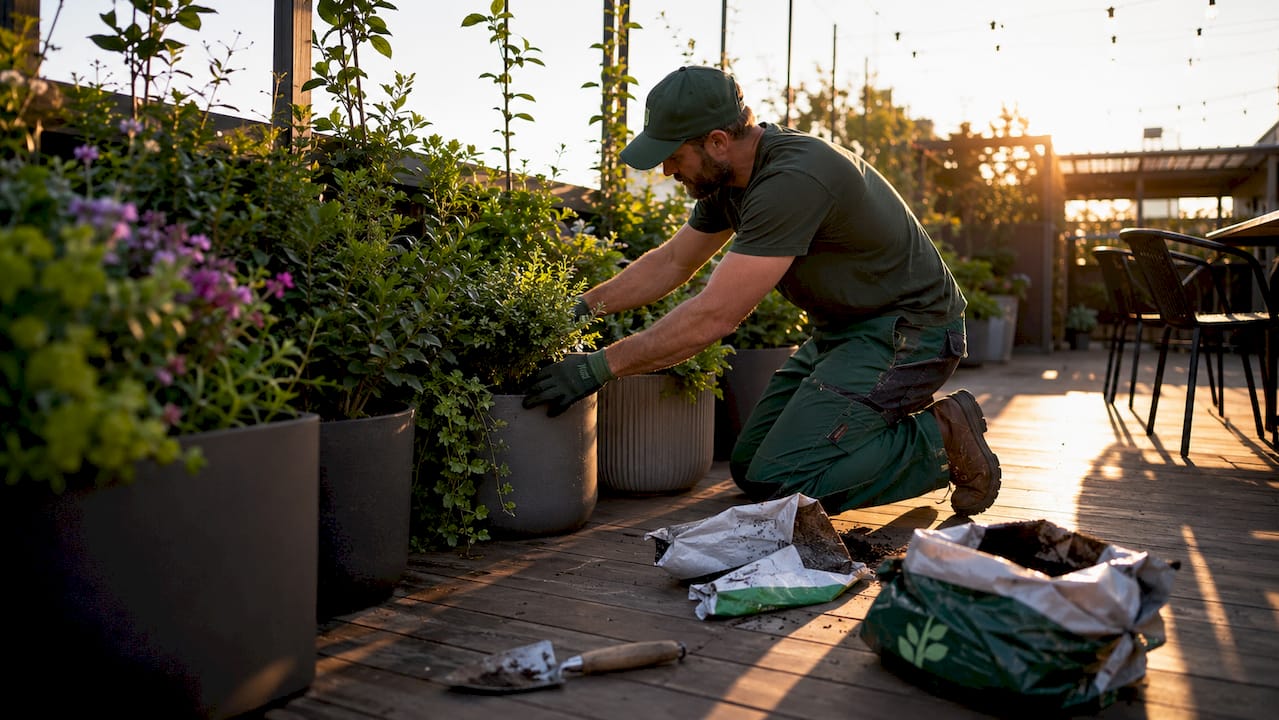
Position the plant. Remove the plant from its nursery container. Loosen circling roots gently with your fingers or a soil knife. Place the plant in the center of the hole or container, checking that it sits upright and at the correct depth.
-
Backfill and firm the soil. Fill in around the root ball with potting mix or native soil, pressing gently to eliminate air pockets. Do not compact aggressively. Roots need oxygen as much as water.
-
Water in thoroughly. Saturate the root zone immediately after planting. This settles the soil, closes air pockets, and gives the plant its best start. Water until it drains freely from the container base.
-
Apply mulch. Spread 2–3 inches of bark mulch over the soil surface, keeping it 1–2 inches away from the plant stem. Mulch reduces moisture loss, moderates soil temperature, and suppresses weeds.
Proper plant installation is not about the planting day alone. The first two weeks of watering determine whether a plant establishes or declines. Check soil moisture daily and water before the top inch dries out completely.
Pro Tip: For commercial plant installation in high-traffic areas, mark planter locations with tape before committing. Walk the layout at peak service time to confirm plants do not obstruct server paths or emergency exits.
What are the best plants for restaurant patios?
Lighting is the single most critical factor in plant selection for restaurant patios. Assess your patio's sun exposure at different times of day before choosing species. A south-facing patio in full sun calls for completely different plants than a shaded rooftop terrace.
For plant selection, match species to your USDA hardiness zone and then go one step further. Choose plants rated for two zones colder than your location when planting in containers. Container roots are exposed to air temperature on all sides, which makes them more vulnerable to freezing than in-ground roots.
Strong performers across most Canadian and northern U.S. restaurant patios include:
- Ornamental grasses (Calamagrostis, Pennisetum): low maintenance, movement in wind, strong visual texture
- Boxwood (Buxus sempervirens): dense, formal, excellent for barriers and zone definition
- Lavender (Lavandula angustifolia): fragrant, drought-tolerant, pollinator-friendly
- Dwarf Alberta Spruce: evergreen structure, holds shape without frequent pruning
- Agapanthus: bold summer blooms, works well in warmer climates
Where natural light is insufficient, artificial or preserved plants are a practical and increasingly realistic option. High-quality preserved moss walls and silk topiaries now read as genuine greenery in low-light hospitality settings. They require no watering, no fertilizing, and no replacement cycles.
Design tip: use taller plants at the perimeter to create enclosure and shorter plants near seating to maintain sightlines. Plants placed at table height or below feel intimate. Plants at standing height create privacy without blocking natural light.
How do you maintain restaurant patio plants long-term?
Maintenance is where most restaurant patio plant programs fail. The installation looks great on day one, and then a busy season hits and watering becomes inconsistent. Plants treated as living systems rather than static decor require a scheduled care routine, not reactive attention.
Build these practices into your weekly operations:
- Watering: Check soil moisture every 2–3 days in summer. Container plants dry out faster than in-ground plantings. Water deeply rather than frequently.
- Fertilizing: Apply slow-release granular fertilizer at the start of the growing season. Supplement with liquid feed monthly during peak growth.
- Pruning: Remove dead or damaged growth immediately. Deadhead flowering plants to extend bloom periods.
- Pest monitoring: Inspect leaves weekly for signs of aphids, spider mites, or scale. Early detection prevents spread.
- Replacement cycles: Plants used for air purification functions lose effectiveness over time. Plan for replacement approximately every 18 months to maintain air quality benefits.
Pro Tip: Assign one staff member as the designated plant monitor for each shift. Accountability prevents plant neglect from becoming a systemic problem. A five-minute daily check catches issues before they become visible to guests.
Poor drainage is the leading cause of plant death in commercial containers. If you see yellowing leaves and soggy soil, the problem is almost always overwatering combined with inadequate drainage, not underwatering. Repot into fresh mix and adjust your watering schedule before replacing the plant.
Key takeaways
A successful restaurant patio plant installation requires commercial-grade materials, correct planting technique, climate-matched species, and a consistent maintenance schedule to keep plants healthy and guests impressed.
| Point | Details |
|---|---|
| Use commercial-grade planters | Aluminum or fiberglass planters with 18–24 inches of soil depth support most patio plants for 15–20 years. |
| Skip the gravel layer | Gravel at container bottoms increases root saturation. Use drainage mesh and quality potting mix instead. |
| Match plants to light and climate | Select species rated two USDA zones colder than your site when planting in containers. |
| Build a maintenance schedule | Assign a staff monitor, water deeply every 2–3 days in summer, and replace air-purifying plants every 18 months. |
| Use casters for flexibility | Modular planters with concealed casters let two staff members reconfigure a full terrace in about 10 minutes. |
What I've learned from watching restaurants get their patios wrong
Every spring, restaurants rush to fill their patios with plants before the season opens. Most of them make the same two mistakes: they buy whatever looks good at the garden center without checking light levels, and they have no maintenance plan beyond "someone will water them."
The plants that survive a full season on a busy restaurant patio are almost never the showiest ones at the nursery. They are the ones chosen for the actual conditions of that specific patio, not the conditions of an ideal garden. A lavender that thrives on a south-facing terrace will struggle and die in a shaded courtyard, no matter how carefully you plant it.
What I find most underappreciated is the operational value of modular planter systems. Restaurateurs think about plants as decor, but the best patio plant programs function more like furniture. You move them for private events, shift them for winter protection, and reconfigure them when your seating layout changes. A fixed, in-ground approach removes that flexibility entirely.
The other thing worth saying plainly: a dead or struggling plant costs you more than no plant. Guests notice brown leaves and bare stems. They register it as a signal about how the kitchen is run. Treat your patio plants as you would treat your table settings. They are part of the guest experience, not an afterthought.
— Nicole
Greenspace Plants and your patio plant program
Greenspace Plants brings professional plantscape design and ongoing maintenance to commercial patios across Toronto, Vancouver, and Calgary. Our team handles everything from initial site assessment and patio plant selection to installation and scheduled care visits, so your patio looks its best through every season.
Through our Greenspace+ program, you pay a fixed monthly fee and receive plant design, installation, regular maintenance, and plant replacements with no upfront costs and no long-term commitment. If a plant declines, we replace it. If your layout changes, we adapt. Reach out to Greenspace Plants for a consultation and see what a professionally managed patio plantscape looks like in practice.
FAQ
What size planters work best for restaurant patios?
Planters used as patio barriers require a minimum width of 18 inches and a maximum height of 36 inches, with 18–24 inches of soil depth for most shrubs. Larger feature containers should be at least 24 inches wide.
Should I put gravel at the bottom of my patio planters?
No. Gravel at the bottom of containers creates a perched water table that traps moisture in the root zone and increases the risk of root rot. Use drainage mesh over the holes and quality potting mix instead.
How often should restaurant patio plants be replaced?
Plants used for air purification functions should be replaced approximately every 18 months as their effectiveness declines. Other plants should be replaced when they show persistent decline that does not respond to corrective care.
What plants work best in low-light restaurant patios?
Where sunlight is insufficient, artificial or preserved plants are the most practical option. High-quality preserved moss and silk topiaries hold their appearance without any watering, fertilizing, or replacement cycles.
How do I keep patio plants healthy during a busy restaurant season?
Assign one staff member per shift to check soil moisture and inspect for pests. Water containers deeply every 2–3 days in summer, apply slow-release fertilizer at the start of the growing season, and prune dead growth immediately to maintain appearance.