
The difference between a plant that thrives for years and one that declines within a season almost always traces back to what happened during installation. Get the fundamentals right from the start, and you give every plant the best possible foundation. Here is a quick-reference summary of the core plant installation best practices we follow at Greenspace Plants:
- Planting hole dimensions: Dig 2 to 3 times wider than the root ball diameter, but no deeper than the root ball height
- Root flare visibility: The root flare must remain at or slightly above final soil grade to prevent cambial suffocation
- Backfill soil: Use native soil from the hole; heavily amended mixes create a pot-in-pot effect that traps roots
- Planting sequence: Trees first, then large shrubs, smaller shrubs, and finally ground covers
- Mulching: Apply 2–4 inches of organic mulch in a donut shape, keeping it 3–6 inches from the trunk
- Watering: Soak thoroughly at planting to eliminate air pockets; keep the root zone moist but never saturated during establishment
- Common errors to avoid: Volcano mulching, deep planting, and skipping soil preparation
How to prepare your planting site and manage soil health
Site preparation is where most installation failures begin. Before any plant goes in the ground, the soil needs a thorough assessment.
New construction sites are particularly risky. Buried mortar, limestone, and plaster fragments raise soil alkalinity and impair nutrient absorption, while chemical spills from motor oil or gasoline can quietly poison a planting bed. A soil test for pH, organic matter, compaction, and drainage characteristics should happen before a single hole is dug.
Compacted soil is equally damaging. When soil resistance is too high, roots cannot penetrate, and the plant essentially strangles itself underground. Deep tilling or aeration breaks apart hard-pan layers and restores oxygen flow to the root zone. For raised beds near foundations, slope the bed away from the building and route drain spout water clear of planting areas.
- Test soil pH, compaction, and drainage before planting
- Remove construction debris and contaminated topsoil (top 6–8 inches if necessary)
- Till compacted areas to 12–15 inches deep for bed plantings
- Use native soil for backfill to avoid textural discontinuity
- Size the hole correctly: 2–3 times wider than the root ball, same depth
Pro Tip: Never add organic amendments like peat moss or compost directly into the planting hole. That amended pocket acts like a sponge, holding excess moisture and discouraging roots from growing into surrounding native soil. If you need to improve soil structure, spread amendments broadly across the entire bed, not concentrated in the hole.
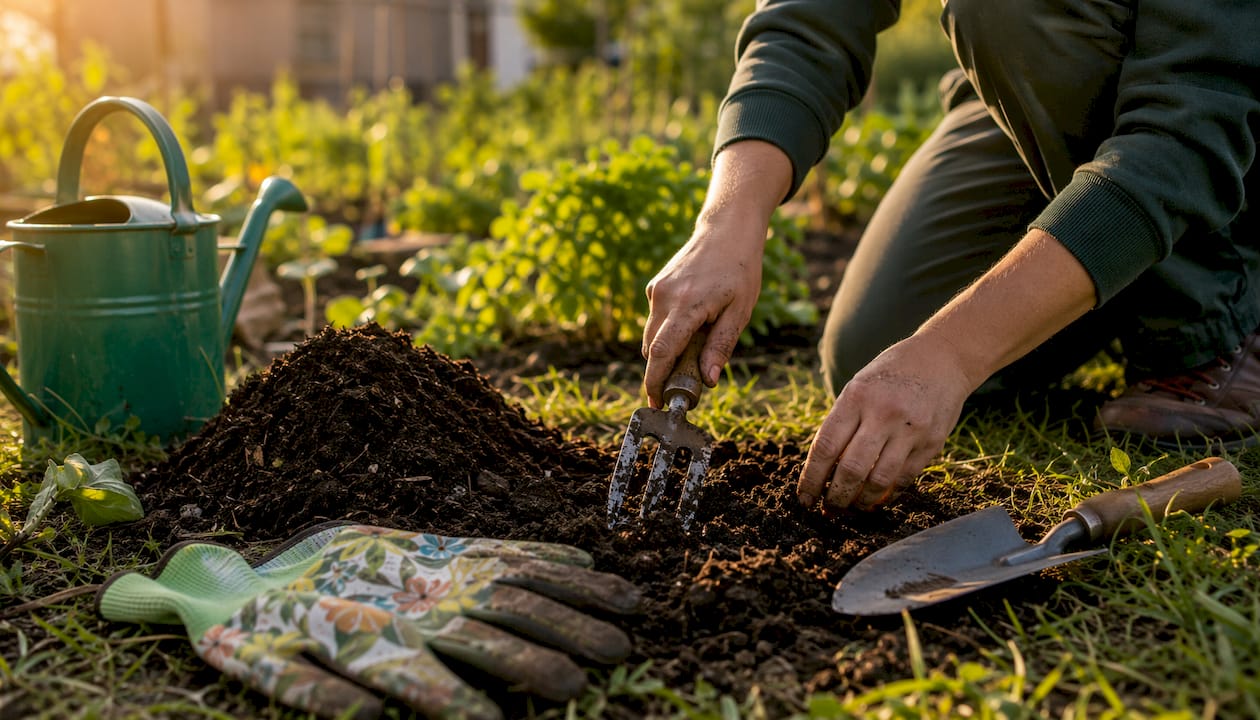
Why planting sequence matters in mixed installations
When you are installing multiple plant types in one area, the order you work in directly affects how many plants survive undamaged. The standard professional sequence is trees first, followed by large shrubs, smaller shrubs, and finally ground covers.
The logic is straightforward. Installing a large tree after smaller plants are already in the ground risks crushing or displacing them. Working from largest to smallest keeps the site clear and protects the most vulnerable plants until the end.
- Install trees first as the structural anchors of the planting
- Follow with large shrubs, then smaller shrubs
- Finish with ground covers and perennials
- Adjust sequence only when site logistics genuinely require it
- Account for mature spacing at installation; overcrowding now creates competition for light and nutrients later
Spacing deserves particular attention. Plants placed according to their mature size, not their current size, avoid the costly thinning and transplanting that comes from crowding. For a deeper look at planting sequence strategies, the full installation process is worth reviewing before you start.
Managing the initial establishment period for plant health
The first growing season after installation is when plants are most vulnerable. Root systems are rebuilding, moisture stress is high, and any care mistakes compound quickly.
Water thoroughly immediately after planting to settle the soil and eliminate air pockets. After that initial soak, keep the root zone consistently moist but not saturated. Overwatering is just as damaging as drought; it creates anaerobic conditions that lead to root rot. Soil type and plant species both influence how often you need to water, so let actual soil moisture guide you rather than a fixed schedule.
- Water deeply at planting, then check soil moisture daily for the first two weeks
- Apply 2–4 inches of organic mulch in a donut shape, 3–6 inches from the trunk
- Monitor for early signs of pest activity or disease, especially on stressed new plantings
- Stake only when necessary (trees under 2 inches caliper in windy areas); remove stakes within 12 months to prevent trunk damage
- Skip fertilizer during the first growing season unless a soil test confirms a specific deficiency
Greenspace Plants' approach to commercial indoor plant installation
Indoor commercial environments present challenges that outdoor planting simply does not. Air circulation is limited, natural light varies dramatically by zone, and soil moisture behaves differently when plants are in containers away from natural rainfall. At Greenspace Plants, our commercial plant installation process accounts for all of these variables from day one.
We prioritize plant selection based on actual light readings in the space, not assumptions. A plant that performs beautifully near a south-facing window will decline quickly in a dim interior corridor. Irrigation is calibrated to each plant's container size and the ambient humidity of the space, because overwatering in low-light indoor environments is the single most common cause of plant loss we see.
- Match plant species to measured light levels and indoor air conditions
- Use moisture-appropriate irrigation tailored to container size and humidity
- Apply professional mulching and soil management techniques to prevent common failures
- Conduct proactive pest monitoring at every maintenance visit using Integrated Pest Management principles
- Document plant placement and care schedules for consistent long-term maintenance
The result, when done correctly, is a planting that actively improves indoor air quality and sustains its vitality through the full life of the installation.
How to prevent and manage transplant shock
Transplant shock is the stress response plants experience when their root systems are disturbed. It shows up as wilting, leaf drop, or slow growth in the weeks after installation, and it is largely preventable with the right handling.
The most effective prevention starts before the plant goes in the ground. Keep roots moist from the moment the plant leaves the nursery through the entire backfilling process. For plants held on-site for more than 48 hours before installation, structured acclimation is necessary: provide shade, maintain root ball moisture, and protect from wind. Container-grown plants tolerate transplanting better than balled-and-burlapped specimens because their root systems remain intact, but both types benefit from careful handling.
Planting during cooler parts of the day reduces evapotranspiration stress. Avoid installing during heat waves when possible. After planting, a consistent watering schedule and proper mulching do more to reduce transplant shock than any amendment or supplement.
Tools and equipment that make planting easier and more accurate
Good tools do not just make the job faster. They make it more precise, which directly affects plant survival. A few well-chosen pieces of equipment prevent the most common installation errors.
A sharpshooter spade (also called a tile spade) digs clean, narrow holes for individual trees and shrubs without disturbing surrounding soil. For bed preparation, a garden fork or rotary tiller breaks compacted soil to the 12–15 inch depth that ornamental beds need. A soil penetrometer identifies compaction zones before you plant, so you know exactly where remediation is needed rather than guessing.
For backfilling, use your hands to firm soil gently around roots. Feet apply too much pressure and can damage fine root hairs. A soil moisture meter takes the guesswork out of watering during establishment; checking actual moisture rather than following a calendar prevents both overwatering and drought stress. For planting hole preparation, having the right cover or liner on hand keeps holes clean and protected when installation is staged across multiple days.
Greenspace Plants makes professional plant installation effortless
Healthy, well-installed plants do not happen by accident. They require the right species for the right environment, proper planting depth, consistent care during establishment, and ongoing maintenance by people who know what to look for.
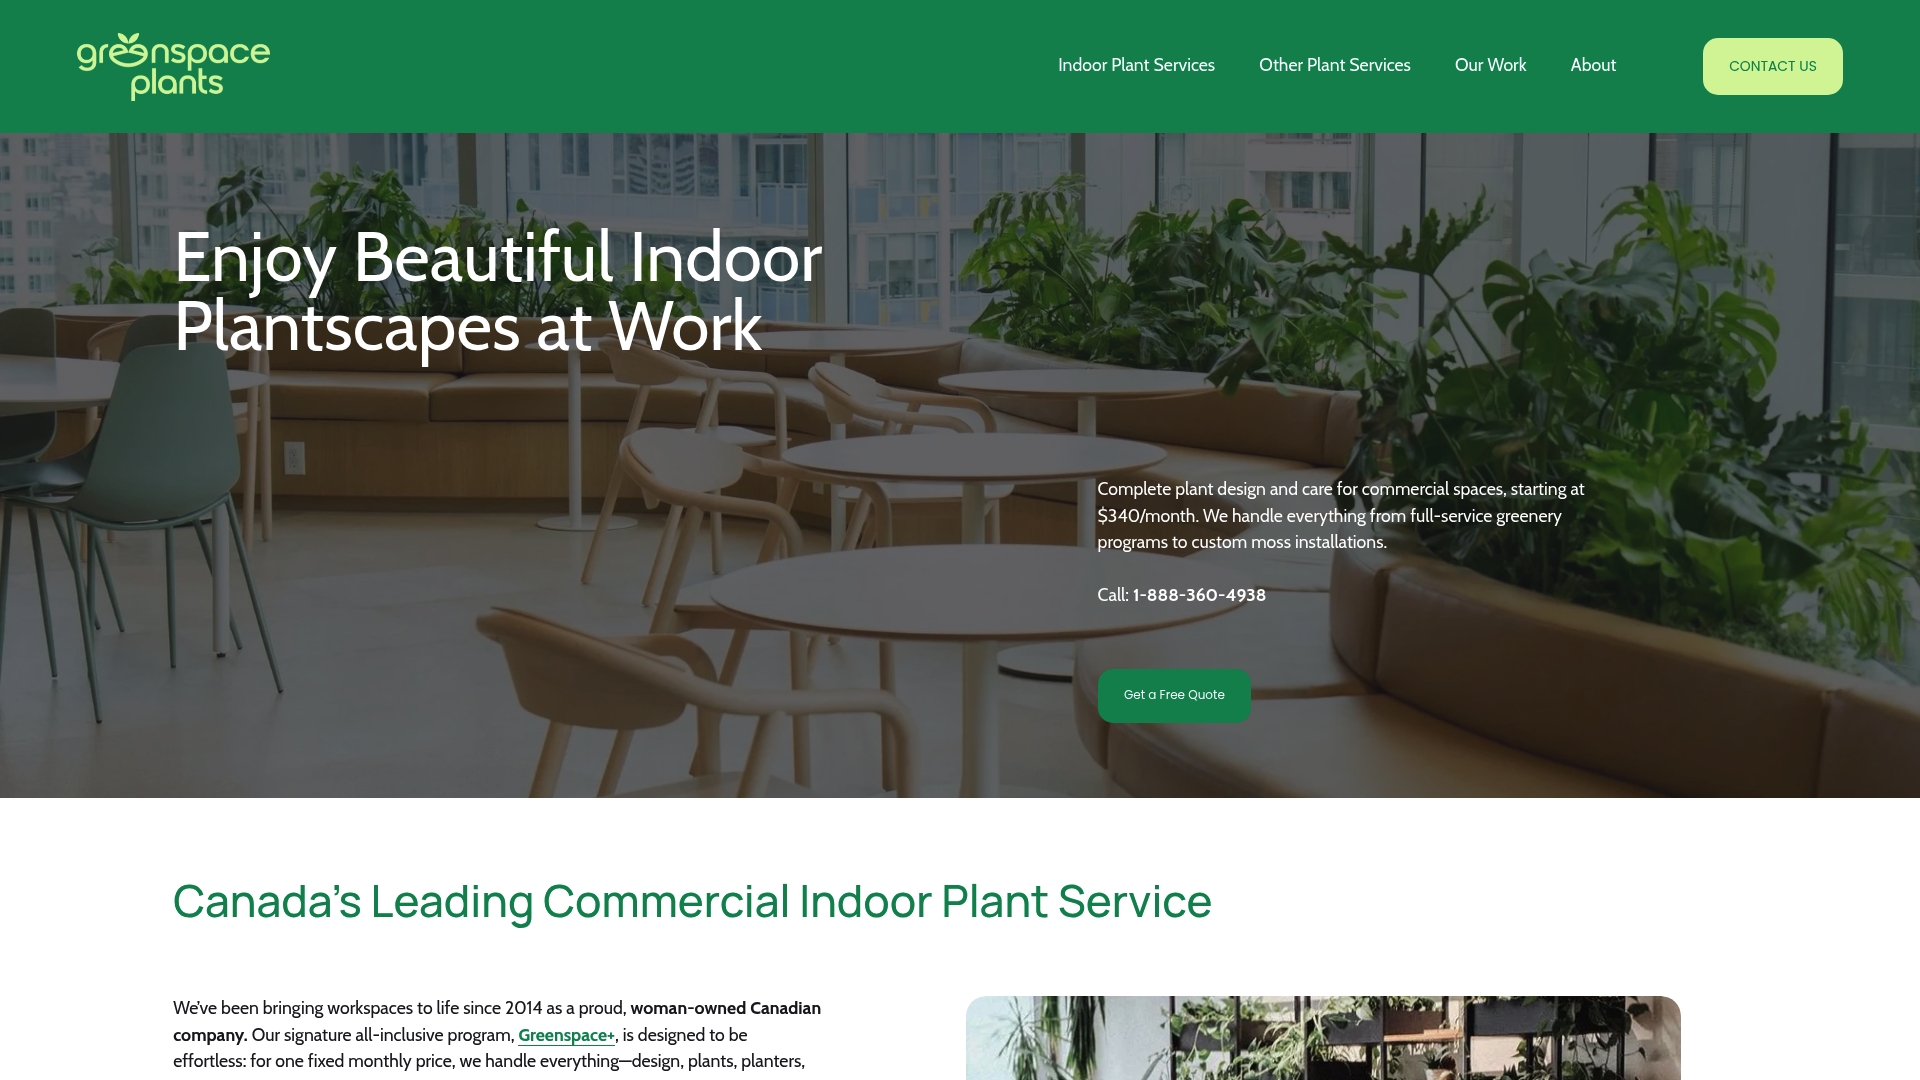
Greenspace Plants offers exactly that for commercial spaces in Toronto, Vancouver, and Calgary. Through our Greenspace+ program, you get expert plant design, professional installation, regular maintenance visits, and guaranteed plant replacements, all for a fixed monthly fee with no upfront costs and no long-term contract. Busy office managers and business owners get the aesthetic and air quality benefits of a thriving indoor plantscape without managing any of the details themselves. Whether you are outfitting a new office, refreshing a lobby, or adding greenery to a restaurant, our team handles every step from plant selection to ongoing care. See what a professionally installed indoor plantscape looks like in our client portfolio.
Key Takeaways
Successful plant installation depends on correct site preparation, proper planting depth, native soil backfill, and consistent establishment-period care working together from the start.
| Point | Details |
|---|---|
| Planting hole dimensions | Dig 2–3 times wider than the root ball, no deeper than root ball height, to encourage lateral root growth. |
| Root flare visibility | Keep the root flare at or slightly above final soil grade to prevent cambial suffocation and decline. |
| Native soil backfill | Use excavated native soil for backfill; amended mixes create a pot-in-pot effect that traps roots. |
| Mulching technique | Apply 2–4 inches of organic mulch in a donut shape, keeping it 3–6 inches from the trunk to prevent decay. |
| Greenspace Plants | Provides expert commercial plant installation with guaranteed healthy plants, ongoing maintenance, and no upfront costs. |