
Preserved moss is maintenance-light: never water it, keep it away from direct sun and extreme humidity, dust it gently, and it can hold its color and texture for years. The moss has already been through a preservation process using glycerin, so it no longer needs soil, roots, or watering to survive. Treat it the way you'd treat a framed textile, and it rewards you with almost no upkeep at all.
TL;DR:
- Preserved moss should never be watered or misted, as moisture can cause mold, color bleed, or breakdown of the preservation solution.
- It performs best in indoor conditions with 40-60% humidity and temperatures between 60°F and 77°F, with UV exposure and humidity swings shortening its lifespan.
- Cleaning involves light dusting with a feather duster or compressed air, avoiding liquids, sprays, or stiff brushes that can damage the material.
- Most preserved moss lasts 5 to 10 years indoors, with longevity influenced mainly by UV exposure, handling, and installation quality.
- Proper shipping, handling, and positioning prevent damage, and high-traffic commercial installations benefit from professional design, installation, and maintenance to avoid early failure.
Table of Contents
- Preserved Moss Care Basics: What to Do (and Never Do)
- What Humidity and Temperature Does Preserved Moss Need?
- How Do You Clean Preserved Moss Without Damaging It?
- Common Preserved Moss Problems and How to Fix Them
- How Long Does Preserved Moss Last?
- Packing and Storing Preserved Moss Safely
- What We've Learned Installing Moss Walls for Commercial Clients
- Why Greenspace Plants Is the Simpler Path for Commercial Moss Walls
- Where to Learn More About Preserved Moss
- Sources
- FAQ
Preserved Moss Care Basics: What to Do (and Never Do)
The single biggest mistake we see in commercial installations is someone treating preserved moss like a houseplant. It isn't one anymore. The preservation process replaces the moss's natural moisture with a glycerin solution, which means the plant is biologically inert, more like a piece of dried botanical art than something that photosynthesizes. Water doesn't help it. Water hurts it.
Once you stop thinking of it as a living organism, the care routine actually gets simple:
- Never water, mist, or spray any liquid on it. Moisture can break down the preservation solution and trigger mold or dye migration.
- Skip household cleaning products entirely. No glass cleaner, no all-purpose spray, no wet wipes.
- Keep it away from heat vents, steam, and direct sunlight. A wall near a radiator or a bathroom exhaust fan is a poor location, since steam-prone rooms raise the risk of mold and color bleed.
- Limit handling. Fingers press moisture and oils into the surface and can flatten texture over time.
- Do a visual check once a month. Look for dust buildup, color shifts, or loose sections near the edges.
Pro Tip: Pin a simple reminder near your maintenance calendar: "No water, no spray, no touching." It sounds obvious, but it's the rule new staff and cleaning crews break most often.
What Humidity and Temperature Does Preserved Moss Need?
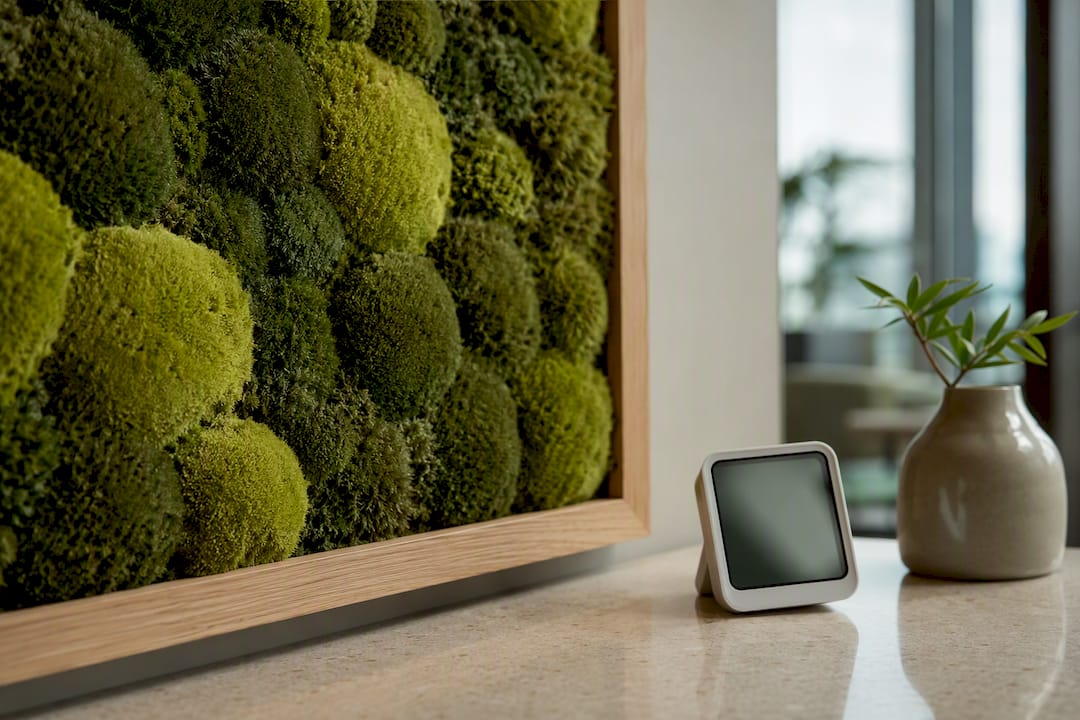
Preserved moss performs best in interior conditions most offices already maintain: relative humidity between 40% and 60%, and temperatures between 60°F and 77°F (15°C to 25°C), according to manufacturer care documentation. Stay inside that band and you rarely have to think about the material again.
Outside that range, the moss reacts, but not in a way that means it's dying. Preserved moss is hygroscopic, meaning it absorbs and releases moisture from the air around it. In dry conditions, it can turn firm or slightly crunchy. In overly humid rooms, it can go soft or feel tacky. Both effects are usually reversible once ambient humidity returns to a moderate range, so a crunchy panel in January doesn't mean it's ruined.
- Low humidity (winter heating season): run a small humidifier nearby.
- High humidity (near kitchens, bathrooms, humid climates): use a dehumidifier or improve airflow.
- Direct sun exposure: relocate the piece or add sheer window film. Long-term UV exposure gradually fades the dyes used in the preservation process, even though the moss itself won't wilt.
Indirect natural light is fine. It's sustained, direct sun hitting the same section day after day that causes fading you can't reverse.
How Do You Clean Preserved Moss Without Damaging It?
Cleaning preserved moss is closer to dusting a piece of framed artwork than cleaning a plant. The goal is to remove surface dust without introducing moisture or friction that breaks down the delicate strands.
- Start with a feather duster. Light, dry strokes lift surface dust without pressing it into the moss.
- Use low-pressure compressed air for tight spots. Corners, seams, and dense clusters trap dust that a duster can't reach.
- Try a cool blow-dryer at a distance for stubborn buildup. Keep it on the coolest setting and hold it several inches back. Heat settings can dry out the glycerin coating.
- Check for loose sections during cleaning. If a patch has come away from the backing, that's your moment to catch it early.
Do this light dusting once or twice a year for most installations, with a quick visual check monthly. Avoid wet cloths, spray cleaners, and stiff brushes entirely, since any liquid contact risks breaking down the preservation itself.
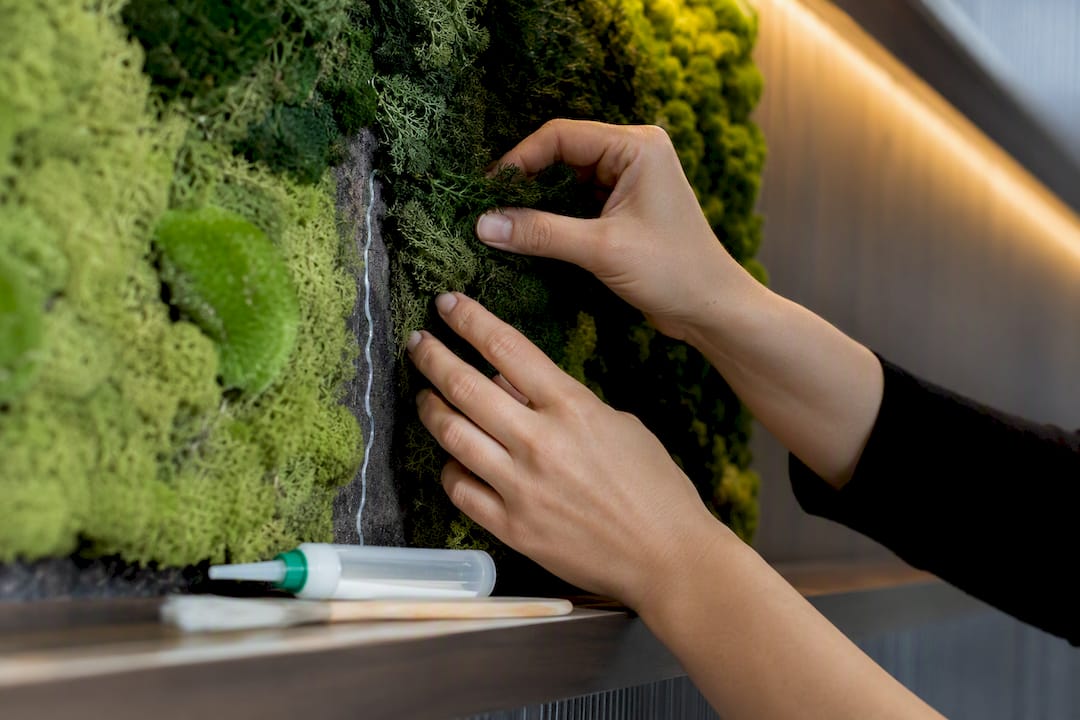
Pro Tip: If a small section has pulled loose from the frame, resist the urge to glue the moss strands directly. Apply a low-VOC adhesive to the backing or substrate instead, and let the moss rest back into place. Gluing individual strands almost always looks worse than the original gap.
Common Preserved Moss Problems and How to Fix Them
Most issues with preserved moss trace back to moisture, light, or rough handling. Here's how to triage the usual suspects.
- It got wet. Blot the area gently with a dry cloth, then increase airflow around the piece and let it air-dry completely. Never try to "fix" wet moss by rehydrating or misting it further.
- You're worried about mold. Mold almost always follows a moisture source, whether that's a humid room, a leak, or a splash. Removing the moisture and improving airflow addresses the root cause faster than any surface treatment.
- Colors are fading. This is typically slow, cumulative UV damage rather than a defect. Once dye has faded from sun exposure, there's no way to restore it, so prevention through placement matters more than any fix.
- The moss feels sticky or tacky. This can be a normal, temporary response to high humidity, but persistent stickiness in normal conditions can also signal lower-quality processing. If it doesn't resolve as humidity normalizes, that panel may be a candidate for replacement.
- It arrived compressed from shipping. Give it time to relax before final installation. Aggressive reshaping right out of the box tends to snap strands that would have settled naturally.
How Long Does Preserved Moss Last?
Most preserved moss installations hold up well for 5 to 10 years, and high-quality material kept in stable conditions can push past 10 years without a noticeable drop in appearance. The range is wide because longevity depends less on the moss itself and more on how it's treated.
Four factors drive that range more than anything else:
- UV exposure. The single fastest way to shorten a piece's life is placing it in direct, sustained sunlight.
- Humidity swings. Constant cycling between very dry and very humid conditions stresses the material more than staying at one steady level.
- Handling frequency. Walls in high-traffic hallways where people brush against them age faster than pieces mounted above eye level.
- Installation quality. Poor adhesive choices or the wrong substrate cause premature sagging and detachment, independent of the moss's own quality.
For high-traffic commercial spaces, framing the piece behind a recessed border or adding a protective edge reduces incidental contact significantly. When damage is limited to a small section, patching the backing is usually cheaper than full replacement. Once fading or brittleness spreads across most of the panel, replacement typically makes more financial sense than repeated repairs.
Packing and Storing Preserved Moss Safely
Moving or storing preserved moss panels calls for the same care you'd give a framed painting, not a potted plant.
- Cushion before you box. Wrap the piece in breathable material, not plastic, which can trap humidity against the surface.
- Use a rigid box. Preserved moss compresses under pressure, and compression flattens texture that doesn't always spring back.
- Store cool, dry, and dark. A climate-controlled storage room away from direct light beats a garage or an uninsulated closet every time.
- Give it time after unpacking. Let the piece sit unwrapped for a day or two before mounting so compressed sections can settle before you inspect for gaps or loose spots.
- Label boxes clearly if you're shipping between office locations, noting "fragile, no crushing" for handlers unfamiliar with the material.
What We've Learned Installing Moss Walls for Commercial Clients
After years of designing plantscapes for offices, restaurants, and retail spaces, the failures we see with preserved moss almost never come down to the moss itself. They come down to specification. Someone mounts a panel in a spot with poor airflow, or a contractor uses the wrong adhesive, or a piece gets installed in a room that runs humid in summer and bone dry in winter. The moss just reveals the mistake later.
Large panels, mixed-material walls, and installations in high-traffic or humid zones are where we recommend bringing in a professional rather than going the DIY route. Getting substrate, adhesive, and airflow right the first time avoids the callback six months later when a section has started sagging. Our Greenspace+ program builds design and ongoing maintenance into one plan specifically to avoid that gap. Before signing off on a vendor for a moss wall project, ask what substrate they're using, what adhesive is rated for that surface, and what the room's typical humidity range looks like across seasons.
— Nicole
Why Greenspace Plants Is the Simpler Path for Commercial Moss Walls
Handling preserved moss care in-house works fine for a small accent piece. It gets harder fast once you're managing a full feature wall, a busy lobby, or multiple locations with different climate conditions. Greenspace Plants designs, installs, and maintains moss walls and living plantscapes across commercial spaces, so the specification mistakes we described above, wrong substrate, wrong adhesive, the wrong room, get caught before installation instead of after.

Our Greenspace+ program bundles design, installation, and ongoing care into one fixed monthly service, with no upfront cost and no long-term contract locking you in. That means a facility manager gets an installation without adding "moss wall inspection" to anyone's monthly to-do list. If you're weighing a moss wall against a living green wall, or want to see finished examples before committing, browse our project photos and request an assessment for your space.
Where to Learn More About Preserved Moss
For technical specifics beyond this guide, manufacturer documentation like CSICreative's care instructions lays out exact environmental specs. For more on comparing preserved versus living moss upkeep, see our maintenance breakdown.
Sources
- Documentation_Care_Instructions_PreservedMoss.pdf — CSICreative
- Growup
- Preserved moss guide: the truth you must know — UlandGreen
- How to care for preserved moss wall art — TheMossShop
FAQ
How long will preserved moss last?
Most preserved moss lasts 5 to 10 years indoors, with quality material in stable, low-UV conditions sometimes lasting well beyond that.
What happens if preserved moss gets wet?
Blot the area dry immediately, increase airflow, and let it air-dry completely. Never try to rehydrate or mist it afterward, since moisture can break down the preservation solution and lead to mold.
Does preserved moss need water?
No. Preserved moss has already gone through a preservation process and no longer needs watering, misting, or soil to maintain its appearance.
Will preserved moss grow back if it's damaged?
No. Since preserved moss is no longer a living plant, damaged or missing sections won't regrow, and repair means re-securing existing material or replacing the affected panel.